

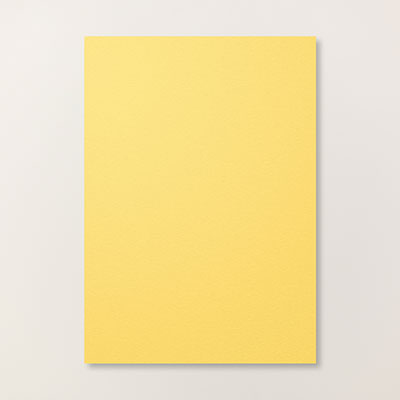
The body is cut from the same die using Pacific Point Cardstock, the head is the smaller leaf die and behind the body is cut out from one of the flower dies using Lost Lagoon Cardstock. The eyes I made using the small heart punch cutting them in half and then placing them on the head and cutting off the excess to shape to the face. The nose I made using the same die I used for the head and then cut out the point to make the nose using Daffodil Delight. For the feathers on the head I stamped this stamp from the Flower Patch set with Pacific Point, cut 3 out and then went over with the Pacific Point Stampin' Write marker to make it darker.

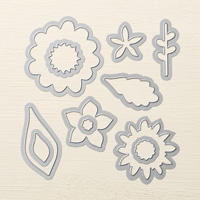
The 'feathers' are triple stamped using the Flower Patch Stamp Set leaves. You will need 13 feathers to make this Peacock. The bottom is Soft Sky, then Pistachio Pudding and then Lost Lagoon. They are then cut out with the Flower Fair Framelits Dies.

The eyes on the feathers are made with the Owl Builder Punch using Daffodil Delight, Baked Brown Sugar, Pacific Point and Basic Black. I adhered them using the 2-way Glue Pen which I love it is so handy for the fiddly bits. Then all you need to do is adhere the feathers, 7 for the first layer 6 for the second. I started with the feather behind the peacock's head but this can be done any way you want. I adhered the first layer with the snail runner then the second layer with Stampin' Dimensionals. Then used the Dimensionals to adhere him to the gorgeous Flower Pot DSP which is so so pretty, then put on a Pacific Point card base. Last of all I put the bling on his feathers.
I think he looks so pretty and best of all he could be done using any colour combination. I hope you all give it a go and I would love to see what you come up with.
Hope you all have a great week.
Cheers Teena


Thank you so much for these instructions Teena can't wait to give this a go :D
ReplyDeleteOMG this is a fantastic card. thanks so much for sharing the recipe and how you put it all together - also for all the colors, thinlets and stamps you used to create it. You're the bomb!!
ReplyDeleteThanks so much Fran. I am glad you enjoyed it, I certainly enjoyed making it.
Delete